External shutters are constructed from durable weather resistant materials. Installation of shutters is the same regardless of whether you’re installing panel, louvered, or board-and-batten shutters.
There are two popular methods for exterior shutter installation: to install wood shutters on hinges and install vinyl shutters directly to the house. Exterior shutter installation on hinges is for functional shutters that need to open or close or just for decorative purposes.
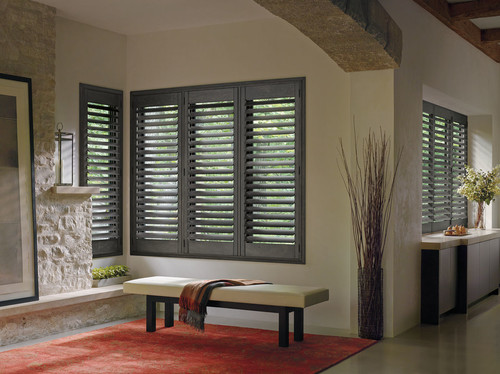
Photo by SunGard Window Fashions – Browse living room ideas
Materials and Tools:
– Vinyl shutters with shutter spikes
– Electric power drill; pencil; chalk line; tape measure; screwdriver
– Safety goggles; level; masonry bit for mortar; optional hinges and S hooks
Directly Installation (Flat Mount)
Direct set installation of exterior shutters is used to install vinyl shutters and sometimes to install wood shutters. There are no hinges or other hardware to mount the exterior shutters. There are no hinges or other hardware to mount the exterior shutters.
Step 1: Place the shutter next to the window and mark the desired location against the wall or window.
Step 2: To help ensure proper alignment, mark or pre-drill holes using a 5/16″ drill bit into the shutter before attaching it to the wall.
Step 3: With the shutter in location against the wall, drill through the shutter into the walls surface 3 1/4″ deep. Make sure you drill holds deep enough so the shutter spikes don’t bottom out. If the home has a brick exterior, try to line up the holes with the mortar lines.
Step 4: Grasp the shutter spike supporting shank and push it through the shutter hold and into the wall surface. Tap the shutter spike gently with a hammer to snug the shutter against the siding. Do not over tighten, or this will cause the shutter to dimple.
Note: Sinking shutter spikes into mortar is much easier than sinking into brick.
Atop Hinges Installation (Hinged Mount)
If instead you need to install functional shutters atop hinges then the process differs slightly. Usually two hinges are installed on a shutter, however, for longer shutters or PVC shutters 3 – 4 hinges are sometimes used to distribute the weight or to keep the shutter more thermally ridged.
Step 1: First of all, you have to determine where to position the hinges, which are traditionally near the end of the shutters. Mark their location on the shutters, and mark the drill holes.
Step 2: Attach the hinges to the shutters, using galvanized screws.
Step 3: You need to position the shutter in the window opening. Allow for an equal amount of space between the shutters at the middle of the window and between the end of the shutter and the wall.
Step 4: Mark the location where the hinges will mount to the wall.
Step 5: Attach the hinges to the walls at either side of the window. Add S hooks at the bottom corners to hold the shutters open.
Benefits and Tips of Impact-Resistant Windows (howtobuildahouseblog.com)


