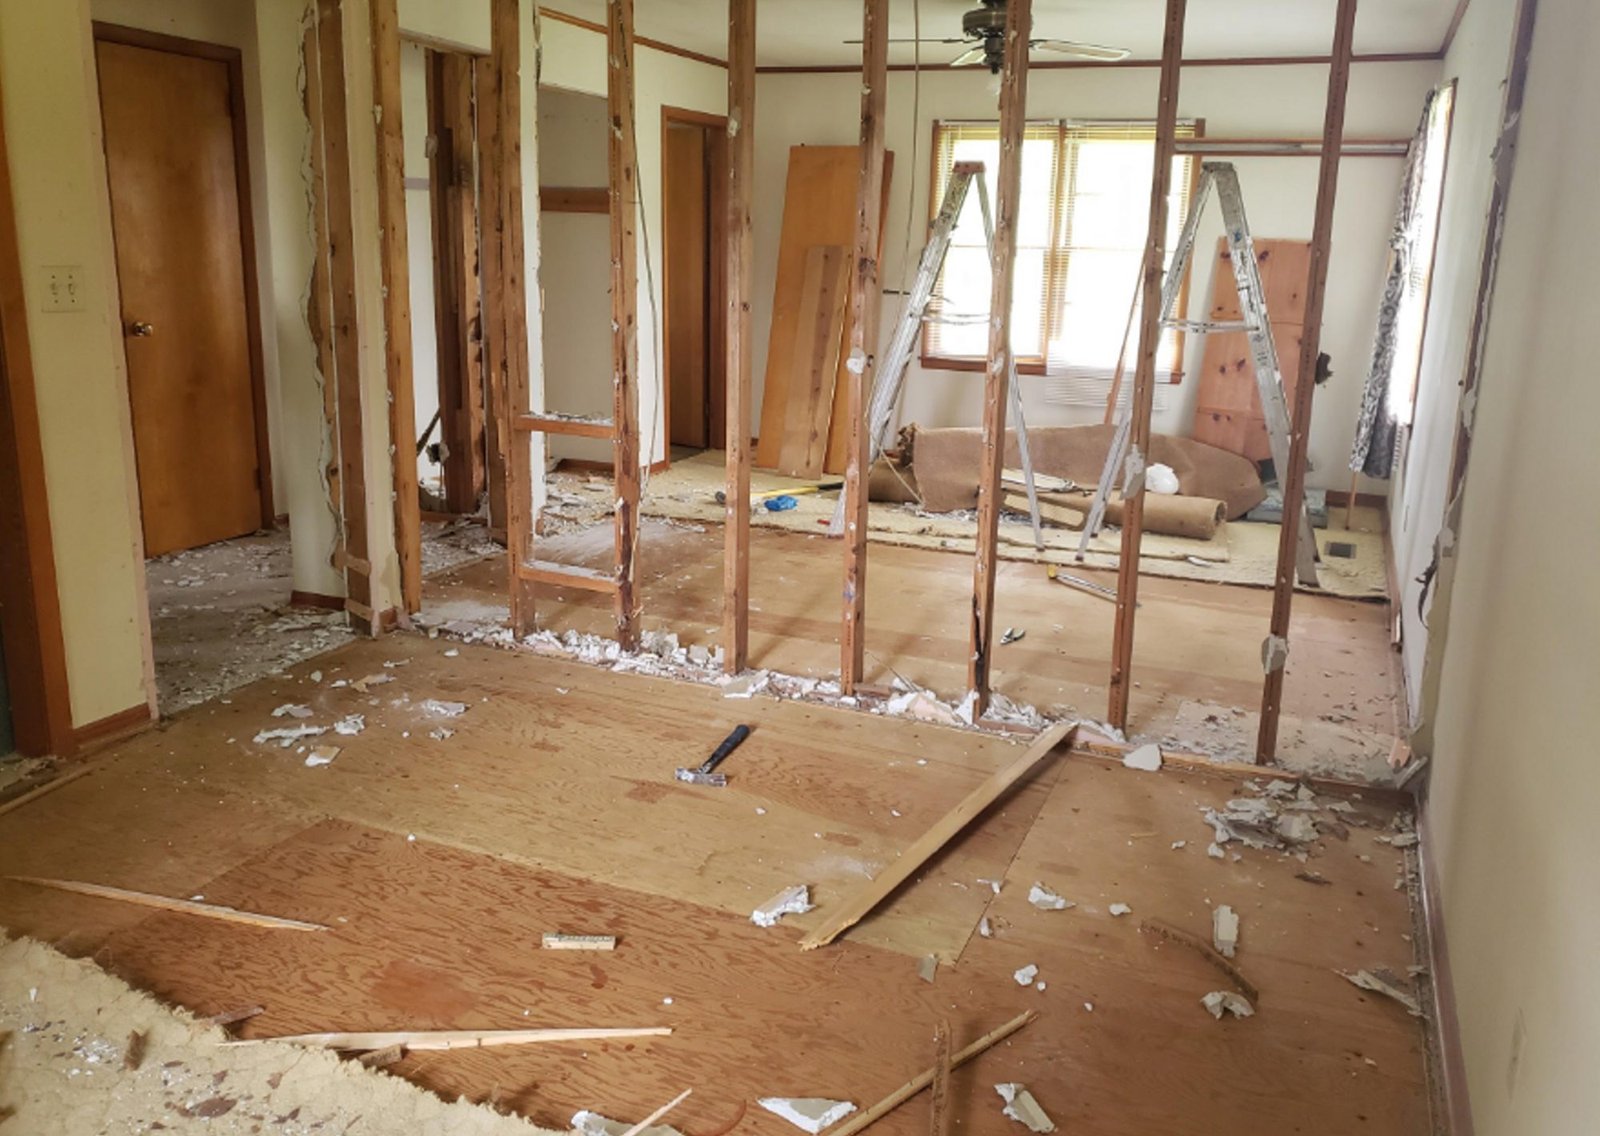
When the basement or crawlspace is done the next step is framing the floor. Floor framing provides support for floor loads, and gives lateral support to exterior walls. Because this structure will serve as the support system for the rest of the house, it’s imperative to use a method whereby the lumber withstands a heavy load without shifting or warping.

By DOWN to Earth Architects – See more Home Design Photos
You need to approach floor framing with proper planning and care just like any other carpentry work.
1 – Plan your floor framing layout:
Study the blueprint and make note of the location of any stairway openings, floor joist cantilevers, in construction floor beams, and heavy loads from above. All these conditions are important when determining floor joist placement on sill plates and beams.
Extremely long spans, staircases, or interior load-bearing walls complicate the framing plan by necessitating lapped joints and additional support columns. If you are unsure about this process, contact a builder or have an engineer look at your floor plan.
2 – Erect steel supporting posts:
Erect steel supporting posts in the basement to support the beams which, in turn, support the lower one end of the floor joists on the ground floor as well as the load from the upper floors which gets transmitted down the walls and studs.
Centre the supporting posts on plates that are designed for that purpose. Adjustable cylindrical steel posts (jack posts), able to meet load-bearing requirements, are commonly used as beam supports. They are fitted with steel plates at both ends. The upper plate must be at least as wide as the beam it has to support and must be bolted onto a steel post, or nailed to a wood post, as the case may be.
NOTE: You should get a structural engineer to calculate exactly what you require in the way of posts, based on your house plan.
3 – Cut all the wood members to size:
Once you have formulated your framing plan, use it to determine the length of lumber you will need and what sizes to cut the lumber into. Use a pencil to mark each piece after you cut it, which will help you determine where that pieces needs to be installed later.
4 – Prepare the floor:
Next step is to prepare the floor, starting with the sill plate, the joists and the beams. Be sure everything is level, as you would in foundation work so as to avoid unpleasant surprises. Use dry structural lumber (<19% humidity). Be sure to protect your lumber against the effects of weather so it won’t warp or crack.
Wooden House Advantages | How To Build A House (howtobuildahouseblog.com)
5 – Install the sill plate:
Install the sill plate that will form the bottom wood layer between your floor and the concrete foundation. When you poured the foundation, you installed anchor bolts into the concrete in anticipation of the sill plate.
Sill beams supported by freestanding piers or piles must be of adequate size to support imposed loads between piers. The sill plate is a piece of 2 × 4 in. or 2 by 6 in. pressure treated wood (38 × 89 mm or 30 × 140 mm) that supports the box-end joist or rim joist. The box-end/ribbon joist is a piece of 2 by the same depth as the floor joist that supports the floor joists which in turn support the subfloor.
a) Begin by installing sill gasket on top of the foundation wall to avoid the transference of moisture from the concrete to the wooden sill plate.
b) Drill holes in the sill plates that correspond with the anchor bolts. Slip the plate into place, attaching nuts to the bolts.
c) They must also be adequately attached to the supporting piers.
d) After placing the sill plate, fasten it to the foundation with concrete screws, approximately every 2 feet in addition to the anchor bolts.
6 – Set the rim joists (band joists):
Start at one side and work towards the other use a measuring tape and a pencil to mark the location of the floor joists and beams on the sill plate and the box-end joists. Check your local building code if you’re unsure what size to use, otherwise, 2 by 10 inches is the minimum acceptable size for a rim joist.
7 – Install the rim joists:
The rim joist, sits vertically on top of the sill plate. Flush with the outside of your sill plate, and attach with framing nails at the bottom, inserted at a 45-degree angle through the bottom of the rim joist and into the sill plate. Builders call this “toe-nailing.”
8 – Mark the position of each floor joist:
Floor joists should run parallel to each other and be spaced evenly, at no more than 16 inches (40 cm) on center. Use a tape measure to find the position of each joist along the sill plate.
Any span longer than 14 feet below your floor joists must include a supporting wall in the basement. In addition, any future supporting walls on the main floor must have a corresponding wall beneath the floor joists for structural integrity.
9 – Install the floor joists:
Set the floor joists onto the sill plate and position them over your pencil markings. The joists should fit flush against the band joist. After setting each joist in place, toe-nail it to both the sill plate and the band joist.
10 – Splice very long floor joists:
Splice very long floor joists on a load-bearing wall beneath the floor. Overlap splices a minimum of 4 inches over the wall beneath. “Toe nail” the spliced floor joists to the supporting wall beneath and to each other.


