Board and batten wood siding is a home improvement that could give a lift in its appearance. This kind of siding is a vertical design created using wide clear or knotty boards spaced apart with narrower boards (battens) covering the joins.
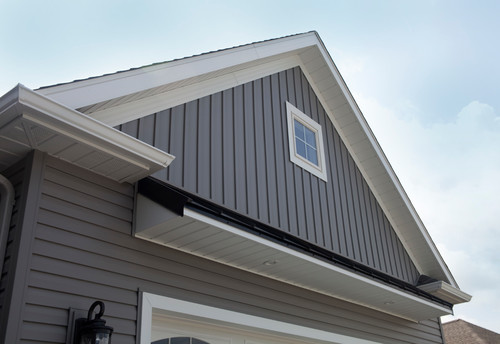
Photo by ProVia – Search exterior home design ideas
The most notable advantage for this type of siding is the ability to add insulation between the siding and the outside wall of the house.
There is no set board or batten widths – various combinations are used to create different looks suitable for large or small-scale applications.
Alternating wide and narrow vertical panels combine in a simple, yet beautiful, design well suited to distinctive architectural styles.
Board and batten siding installation is simple to put up and its look gives a traditional appearance.
When wood is used, maintenance to be done yearly is required.
Other options than wood is also suggested such as fiber cement and vinyl which require minimal maintenance compared to wood.
However, patience is the key to installing board and batten siding because it does take a little longer to install.
Tools & Material
- Measuring tape
- Level
- Pencil
- Saw
- Hammer
- Galvanized Nails (a ring shank will hold better and longer)
- Board and batten material
Steps to take
1. Wooden boards and battens should be stored outside and covered with a tarp, for at about two weeks to help the wood to get acclimatized before you install them. By doing this the boards will shrink a fair bit and will split less when they are installed.
2. Before the installation you should be sure that the outsides of the sheathing are covered in house wrap and windows are snugly sealed. This will prohibit any kind of penetrations in the walls from going through.
Tip: When wood is used as the siding material, painting the area should be done first to enable only the touch-ups to be done on the ends after the installation. This will save time on the work to be done especially when working on various stories.
3. Secure the 1 by 2 inch furring strips to the chipboard (or plywood) horizontally with the 1 ¼ inch drywall screws. Install one line of the stripping along the top of the exterior wood, one in the center, and one at the bottom. Cover the entire area that will have the board and batten siding applied to it.
4. Install insulation between the furring strips if desired. Also, cover the insulation with a vapor barrier (such as Tyvek).
5. The second phase of the installation is to start around the corners with a board that has been cut to its proper length. After, lay the board flat on the wall using a level to make sure that the board is tested. Hammer in two nails across the width of the board in even spaces at around 16 to 24-inch intervals running along the length of the board.
The rest of the boards should then be installed in the same manner bearing in mind to leave a gap (1/4 inch) intended for expansions between the boards. If you are living in a humid environment a gap of ½ inch is recommended.
Attach each board using the blocks as spacers, and making sure your nails are close enough to the edge to be covered by the batten.
6. The final step is to install the battens after the boards have been put up already. Install the battens to cover the space between the vertical boards. Secure those to the boards with the 16d finish nails. When installed properly, the battens should cover the nails driven into the boards.
To create a sturdy and strong hold, screws may be used in place of nails although it would increase the cost of the installation as screws cost higher than nails.
7. Finish all the walls the same way and attach your corner trim. Battens are used as trim for the corners. Caulk should be applied where cracks appear between the battens and the boards. This will prevent rainwater from running between the lumber and ruining the insulation.
Aluminum Siding Installation | How To Build A House (howtobuildahouseblog.com)
")

